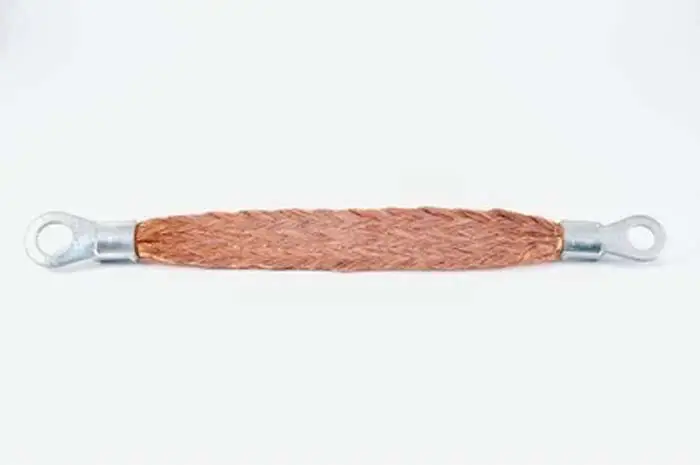
If your car is having electrical problems, one possible cause is a short in a wire. Wires can short when they are damaged or corroded, which causes them to touch each other and creates an electrical current. This can lead to all sorts of problems, from your car not starting to your stereo system acting oddly.
If you think you might have a wire that is shorting out, there are a few things you can do to check. In this article, we’ll show you how to check for a short or loose wire in your car.
What is a Short in a Wire
A short in wire or electrical shorts occurs when an electrical current creates an unintended path creating an unpredictable high voltage. Sometimes it could happen when a positive and negative wire touches and causes the circuit to be completed before load.
For instance, a short in a wire will occur after the insulation separating a group of wires wears off, causing separate bare wires to melt and burn. The term short in the wire has been generally used in the automotive and electrical sectors to describe a problem with the electrical system regardless of the above definition.
Related Post: How Many Ground Wires Does A Car Have
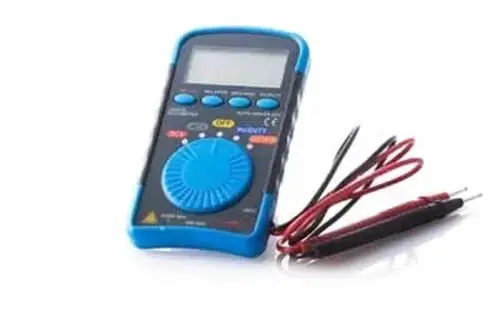
How to Find a Short in a Wire With a Multimeter
There are times when locating a break or short in a wire may need to be more visible or straightforward due to the electrical system’s complexity. The first step is to pay close attention to the symptoms of a short wire in the system. You may suspect you have a short in the wire if you notice the following.
- You smell a burning wire of plastic coming from the electrical system
- Improper function of the electrical system. In the case of car headlights, they may be dim or low
- In the case of cars, you get a check engine warning light along with other symptoms.
- A buzzing sound is coming from the electrical outlet.
Here are five steps to find a short wire using a Multimeter device:
- Preparation and Safety
- Turn On the Multimeter and Set Up the Test
- Check the Functioning of the Multimeter
- Identify Circuit for Testing
- Probe and Examine the Multimeter Display
Step 1: Preparation and Safety

Preparation and safety are important steps when dealing with electricity or electrical components. Before you begin testing for a short, you want to ensure you have all the necessary tools to begin the work. Get all ready, including gloves, a multimeter device, a tester, wires, and other essential tools. Also, ensure the circuits are turned off, including disconnecting batteries or electrical power sources.
Note: Turning off all electrical power sources prevents electrocution by double-checking before you begin testing.
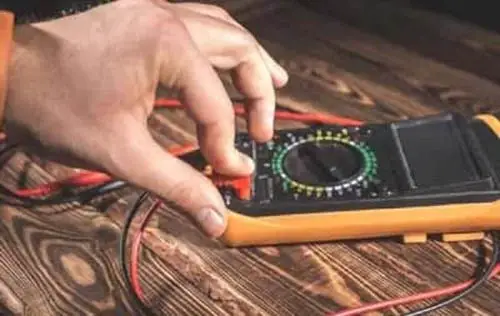
Step 2: Turn On the Multimeter and Set Up the Test
After double-checking that all power sources are turned off or disconnected, turn on the multimeter and ensure it’s working properly. You will want to turn to continuity or resistance, depending on your goal. If you use a resistance mode, keep it at its lowest possible.
Note: We are measuring low resistance between two points with continuity testing. Low resistance means that the circuit is closed and there is continuity.
Step 3: Check the Functioning of the Multimeter
After setting your multimeter, you want to test its functioning properly and give you the results you hope to get. To do this, use your multimeter’s probe pens, and check connections by touching each other. It should read 0 or close to zero under resistance mode.
If you get a number much greater than zero, you need to calibrate it until you get a number equal to zero. In continuity testing, you should get a beep sound of light and a reading of zero or almost zero when you probe the two pens together.
Step 4: Identify the Circuit for Testing
Identify the components of the circuits that are being tested for shorts. The first step in testing a short in a wire is to identify the circuit component that is causing the problem. This can be done by looking at the circuit diagram and finding the component that is connected to the wire.
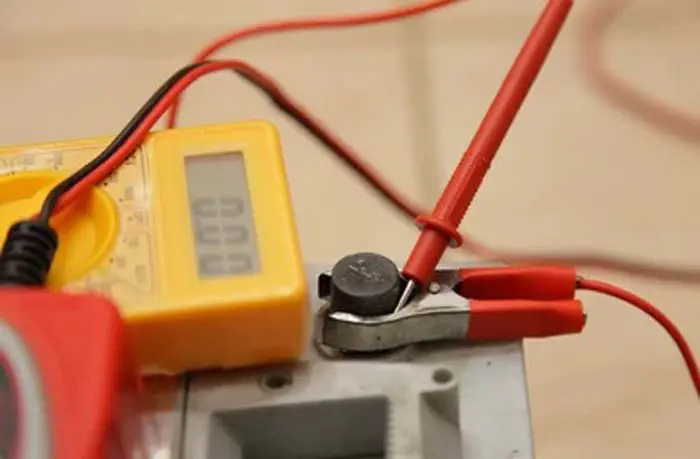
Step 5: Probe and Examine the Multimeter Display
After identifying the circuit to be tested, connect the red and black probes of the multimeter to the circuits. Connect the black and red probe to the end of the wire or section you think is broken or short. Ensure both probes are in contact with each side simultaneously as the testing.
- Check the multimeter display for the resistance as you test for a short in the wire. If the resistance of the component is zero or almost zero, then the test current flows through it, this means that there is no or very little resistance to the flow of current, and the circuit is continuous, which means that there is a short in the wire. However, If a short is not detected in a wire, the multimeter will display an open circuit or otherwise display 0 or 0L. That implies there is no continuity and there is no short in the wire.
- Under continuity mode, the display will read zero or close to zero and beep to indicate a continuous flow of current. But it will not beep or show one or OL in case of a short in the wire.
In conclusion, it is important to know how to find a short in a wire with a multimeter. This can be a useful skill when troubleshooting electrical problems. To do this, first set the multimeter to the ohms setting. Then, touch the probes to the ends of the wire. If there is a short, the multimeter will register a low resistance reading. If there is no short, the multimeter will register a high resistance reading.
Related Post: Car Electrical System Basics, Function, Working, Diagram
Related Post: How To Properly Ground A Car Battery: The Definitive Guide
Sign Up