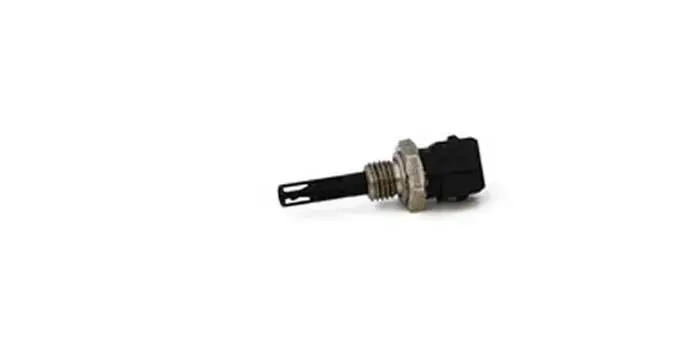
The Intake Air Temperature sensor of the car is basically a thermistor, which is a temperature resistor that changes its resistance according to the temperature.
The INTAKE AIR TEMPERATURE sensor of the car holds pivotal importance in the proper functioning of the car. It measures the temperature of the air entering the combustion chamber for combustion. Then the INTAKE AIR TEMPERATURE sensor sends this temperature signal to the electronic control unit of the car.
The ECM then decides the stoichiometric amount of fuel, according to the temperature of the intake air, to be injected into the combustion chamber so that the fuel is completely burned.
In this powerful step-by-step guide, you will quickly learn how to test an intake air temperature sensor with a multimeter in easy-to-understand language.
Related Post: Intake Air Temperature (IAT) Sensor
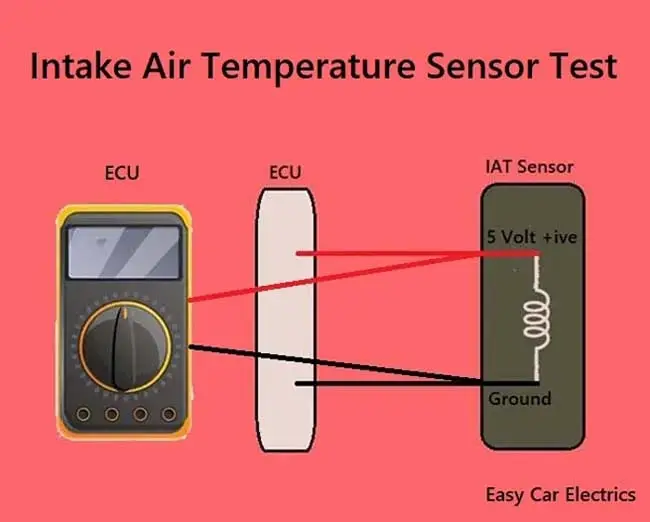
Intake Air Temperature Sensor Test

An intake air temperature sensor test is a simple process that can be completed in just a few minutes. This test is important because it helps to ensure that your vehicle’s engine is operating at the correct temperature.
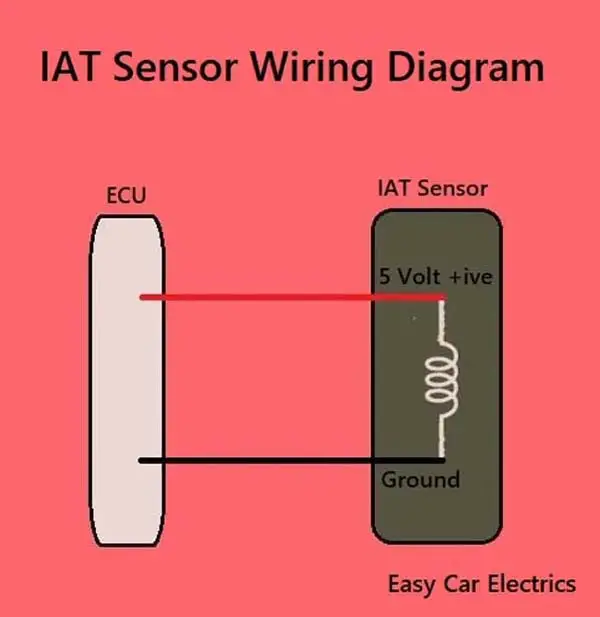
The intake air temperature sensor has two wires hot and ground, both wires are connected to the ECU of the computer. To test the intake air temperature (IAT) sensor of the car we should first understand that the thermistor used in the sensor could either have 1) a Negative Temperature Coefficient or 2) Positive Temperature Coefficient.
In Positive Temperature Coefficient (PTC) thermistor, the resistances increase with the increase in temperature whereas, in the Negative Temperature Coefficient (NTC) thermistor, the resistance decreases with an increase in temperature.
In the following testing procedure, we assume the INTAKE AIR TEMPERATURE sensor to have an NTC thermistor. First of all, you should know the location where the IAT sensor of the car is situated in the engine for testing the IAT sensor.
Related Post: Intake Air Temperature (IAT) Sensor Location
How To Test IAT Sensor With Multimeter
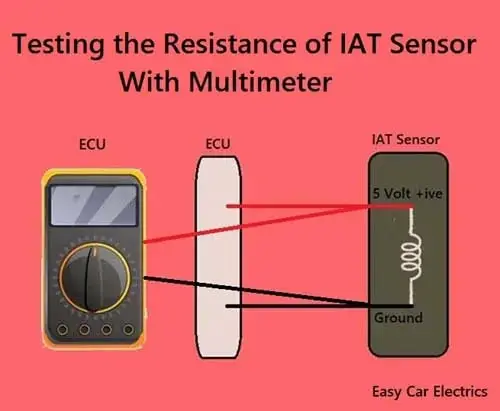
1. Testing The Resistance Of IAT Sensor With A Multimeter
- Disconnect the Intake Air Temperature sensor from the electrical connector.
- Set the Digital Multimeter to a reading of 50K on the Ohms scale.
- Measure the signal across the terminals of different terminals of Intake Air Temperature sensors with the car engine being turned off.
- At 20 ͦC, the reading should be 37K ohms.
- At 30 ͦC, the reading should be 24K ohms.
- Connect the Intake Air Temperature sensor to the electrical connector.
- Start the engine at idle for around 20 minutes.
- As the temperature rises, turn the engine off.
- Disconnect the Intake Air Temperature sensor from the electrical connector.
- Again, measure the resistance across the terminals of the Intake Air Temperature sensor
- o At 90 ͦC, the resistance should be 2.8K ohms.
- o At 100 ͦC, the resistance should be 2K ohms.
- If the readings shown in your Digital Multimeter are the same as above your Intake Air Temperature is working properly.
Related Post: IAT Sensor Wiring Diagram
2. Testing The Power Circuit Of The IAT Sensor With A Multimeter

- Turn the car’s engine off and wait for it to cool.
- Set the Digital Multimeter to voltmeter.
- Disconnect the Intake Air Temperature sensor from the electrical connector.
- Connect the red lead of the Digital Multimeter to the 5-volt reference wire of the Intake Air Temperature sensor and connect the black lead of the Digital Multimeter to the ground of the engine or battery negative terminal.·
- Turn the car switch on without starting the car’s engine.
- The Digital Multimeter should show a reading between 4.5 to 5 V if the Intake Air Temperature sensor wiring is ok. Sensor With Multimeter
3. Testing The Ground Circuit Of The IAT Sensor With A Multimeter
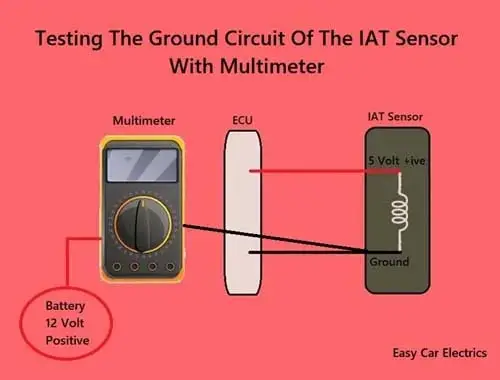
- Turn off the car switch.
- Connect the black lead of the Digital Multimeter to the ground wire of the Intake Air Temperature sensor and the red lead of the Digital MultiMeter to the battery voltage.
- Turn the car’s ignition switch on without starting the engine of the car.
- The meter should read around 12 V if the INTAKE AIR TEMPERATURE sensor wiring is connected to the ECU.
- Turn off the ignition switch of the car.
In conclusion, testing an IAT sensor with a multimeter is a simple process that anyone can do with the right tools and knowledge. By following the steps outlined in this article, you will be able to quickly determine if your IAT sensor is working properly.
Testing The Intake Air Temperature Sensor Off The Car

The intake air temperature sensor of the car can also be tested if it is not connected to the car in any sort. For this purpose, you will require some water, a thermometer, and an Ohmmeter. Here is the procedure to test the IAT sensor:
- Disconnect the IAT sensor from the engine.
- Check the sensor for any type of physical damage.
- Clean the sensor with a spray cleaner.
- Fill a container with water and immerse the sensor in it.
- Measure the temperature of the water with the thermometer.
- Connect the Ohmmeter across the terminals of the sensor.
- Heat the water.
- Notice the change in resistance with the temperature.
- Compare the observed readings to the pre-defined readings.
Related Post: 7 Symptoms Of Bad Intake Air Temperature (IAT) Sensor
Sign Up